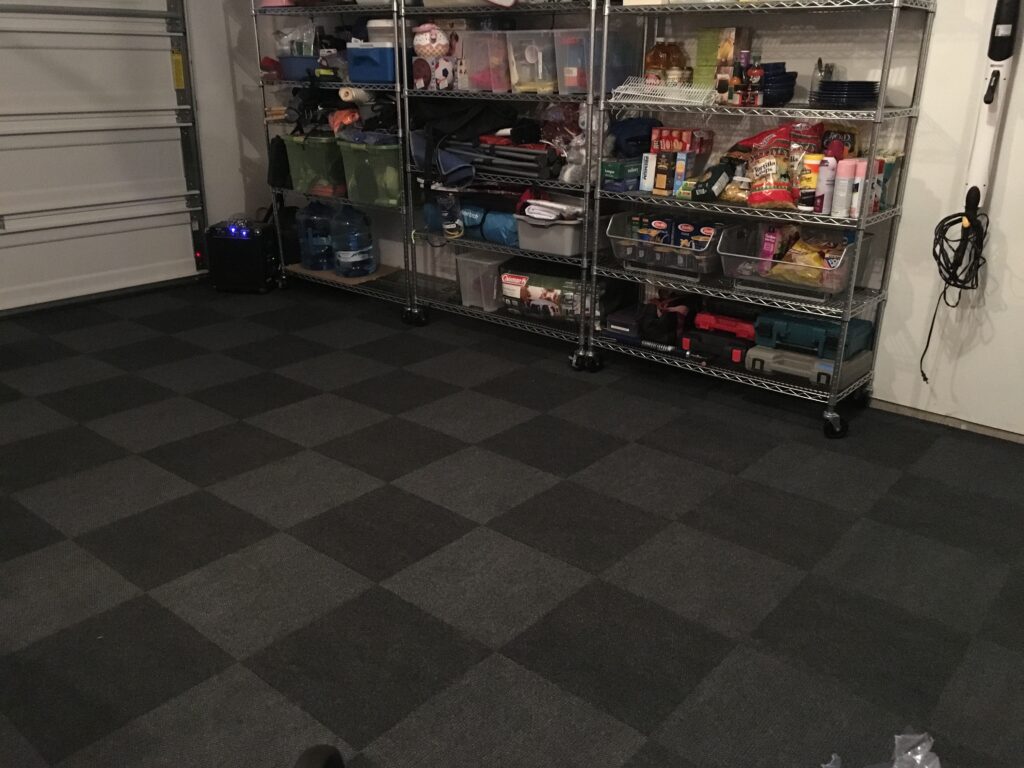
I have an amazing craft studio space now, but it did not start out that way. Just like everything else around here, it evolved over several years. In the beginning, it was just a garage full of stuff on metal rolling shelves. It worked, but it was cold, and visually cluttered. Honestly, the origins of this project grew out of our need for a good night’s sleep. Our adult child, and their partner, still lived at home but they worked late shifts… so therefore they were awake and rummaging for food in the middle of the night. Our main bedroom is right above the kitchen, so this posed a bit of a challenge.
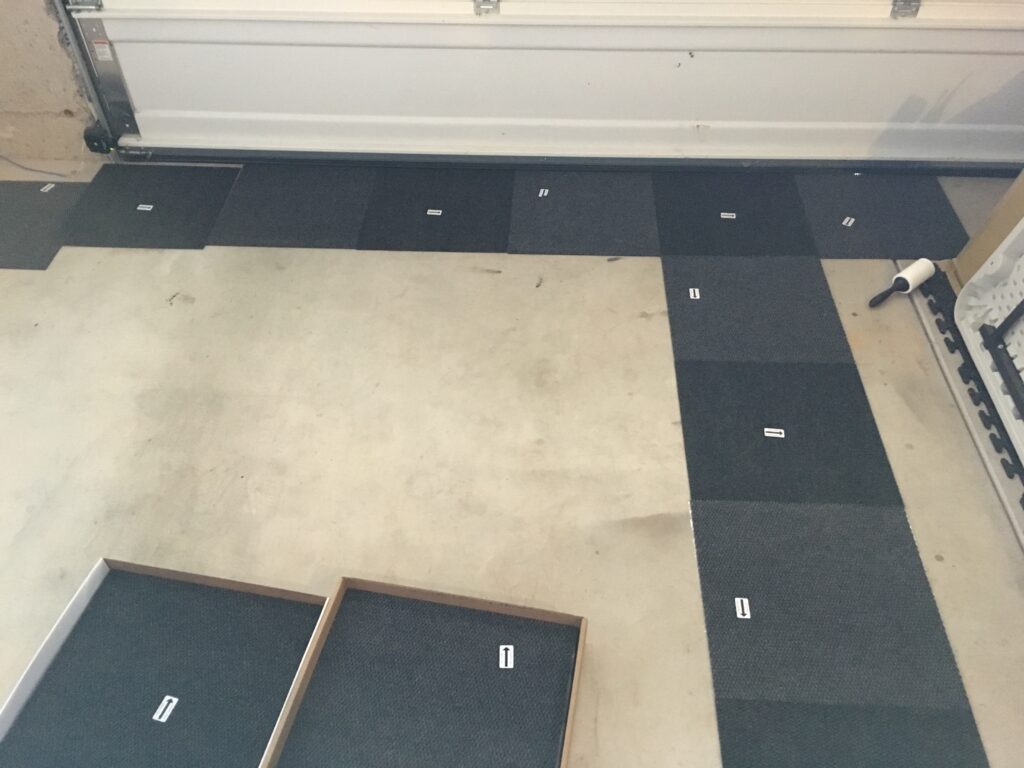
First off, we needed a better floor, something a little more comfortable to walk on. We did our research and found these floor tiles (good balance of quality at a good price at 99 cents a square foot). In August of 2018, I got started. It was a pretty simple process… make sure the floor is perfectly clean (using a lint roller as needed), remove the tape from the sticky back, and place down, keeping the arrows going in a consistent direction.
It only took me 4 days to get the flooring installed. It probably would have been faster if I had moved everything out to do it, so I didn’t have to keep shuffling what was in my way. All in all, I think this flooring solution was a good choice. It was inexpensive, can be driven on, and hosed off or replaced as needed. They have definitely helped the garage stay warmer in the winter and improved the looks.
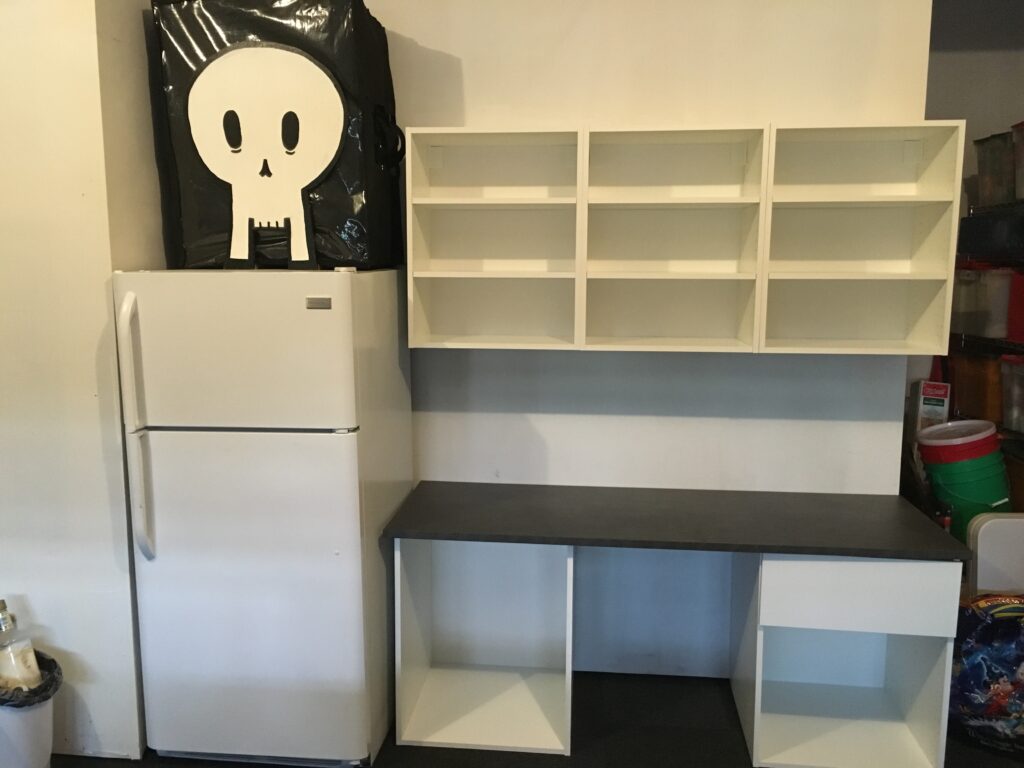
We had decided to make a small kitchen space, to hold a microwave and maybe a utility sink. We looked at garage organization systems, but we found the IKEA SEKTION cabinets more affordable and flexible. In September 2018 we got started, but I didn’t really like how crowded they felt, and wanted a bit more room for a larger sink and clearance over the sink.
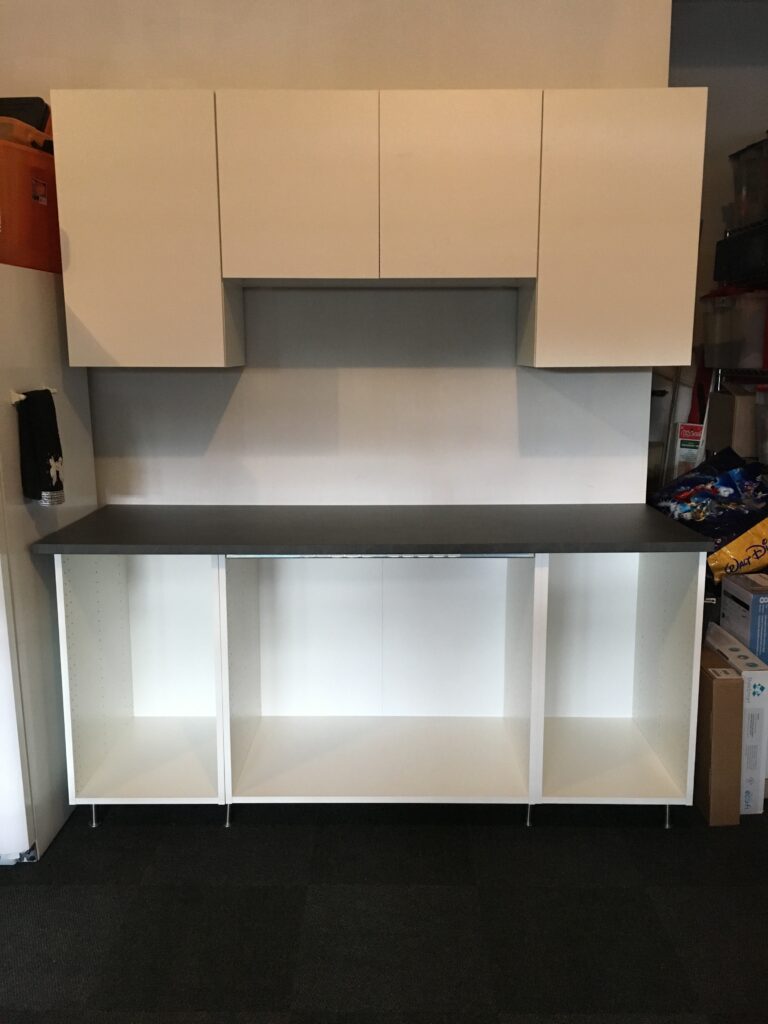
By October 2018, the new cabinets started taking shape. This was starting to feel a lot better. Don’t worry about the other cabinets going to waste, as they will be repurposed on the wall to the right as this project expanded. The drawers were back-ordered a bit though and I needed to find a plumber and see if my plan was really possible.
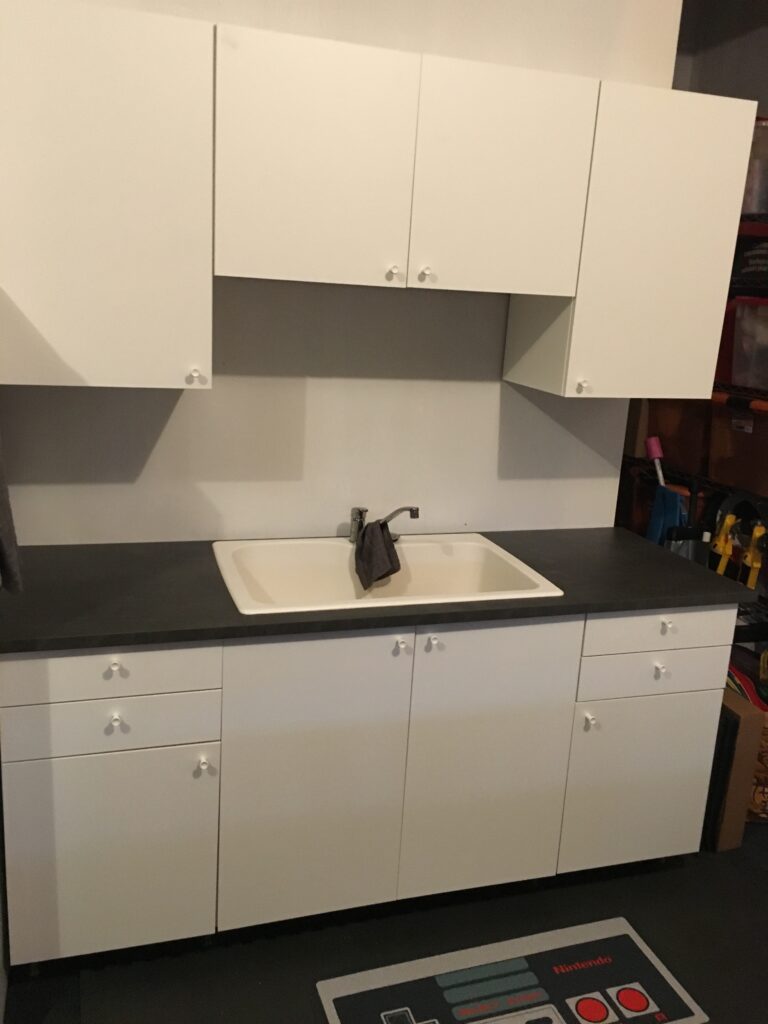
By the end of October 2018, my vision had been realized. We found a great plumber that did all the hard parts. I really LOVE the sink we found. It is stain resistant, big enough to bathe the corgi, and has a deep drain basket to catch anything that should not go down the drain.
Added bonus was that, for the first time ever, I had an OFFICIAL drawer for batteries! This was life-changing.
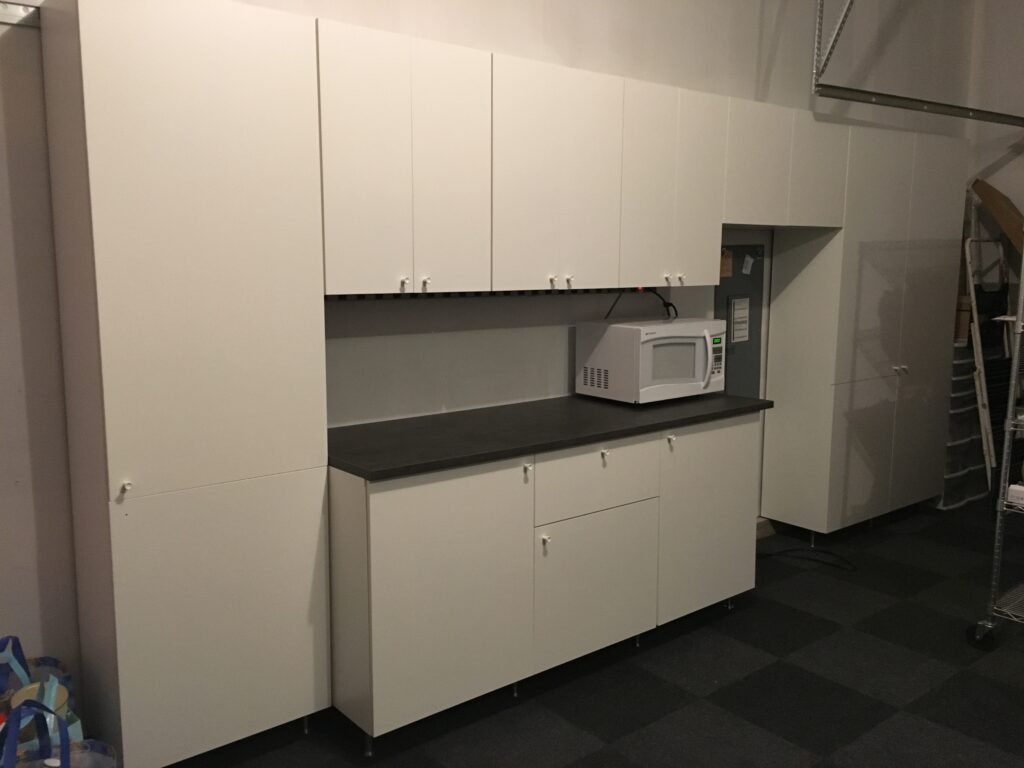
Since I had extra cabinets just sitting there, I started envisioning how much more storage I could add. By mid-November 2018, I had added several tall pantry-type cabinets, and a short cabinet over the power panel. I love that this added a ton of storage space, and yet cars could still fit if needed.
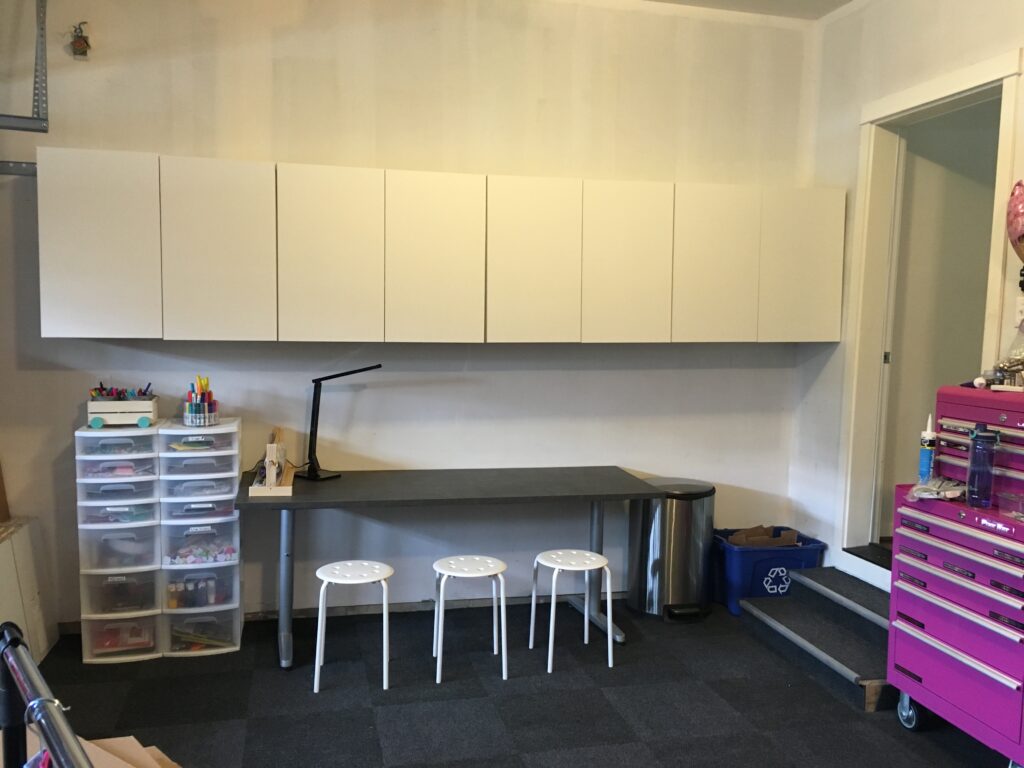
The space was working so well, that I decided I wanted to add an arts & crafts space for all the kid supplies. I love that we added just the upper cabinets here, as it has been really flexible over the years. I have had several different table configurations here, depending on the project needs.
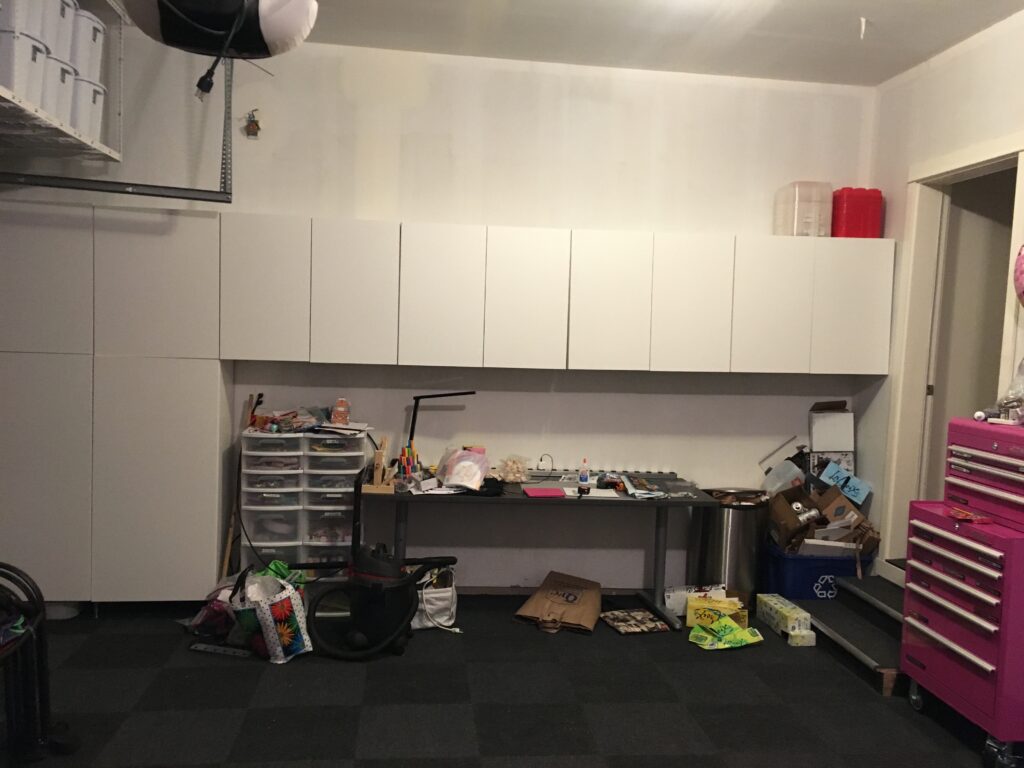
By May 2019, we had finally finished all the cabinets, adding a couple more tall pantry cabinets. This total project was about $4000, which I don’t know if I would have invested at the beginning, but now I feel was worth every penny. My oldest kid would move out in July of 2019 and this space would start to really be mine.
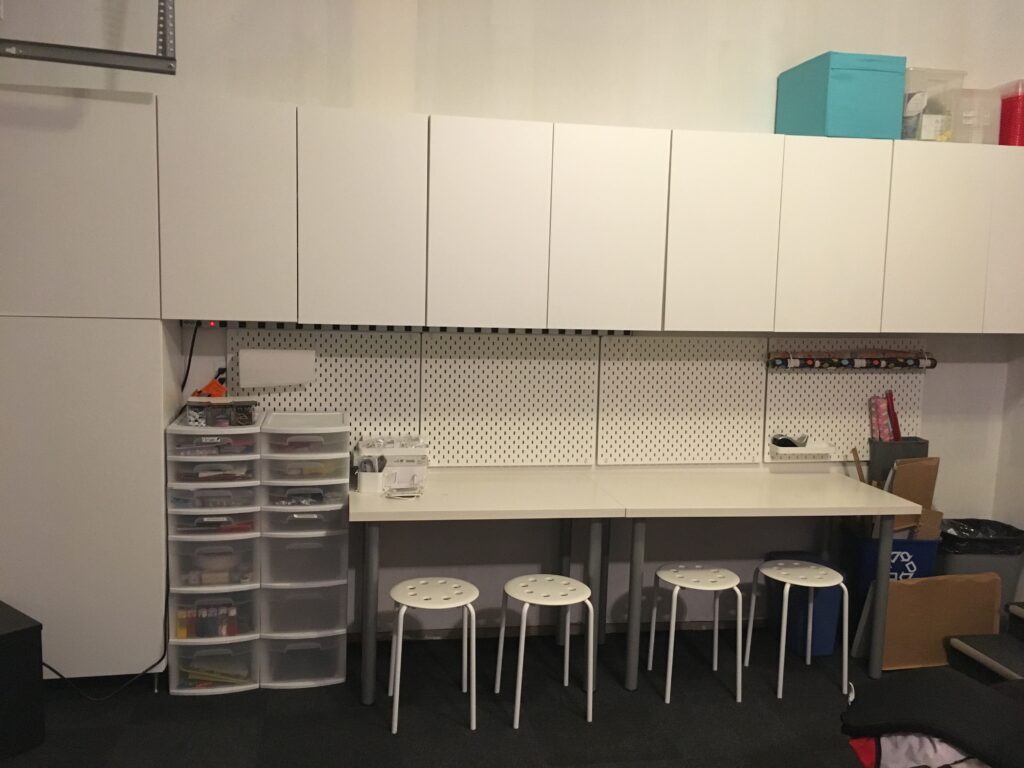
In October 2019, I added IKEA SKADIS pegboards and organizers all along the wall under the cabinets. This really helped get things up off the table top and out of totes, so they could be found easily. This would soon become my sewing table.
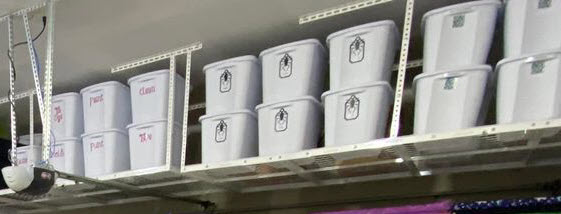
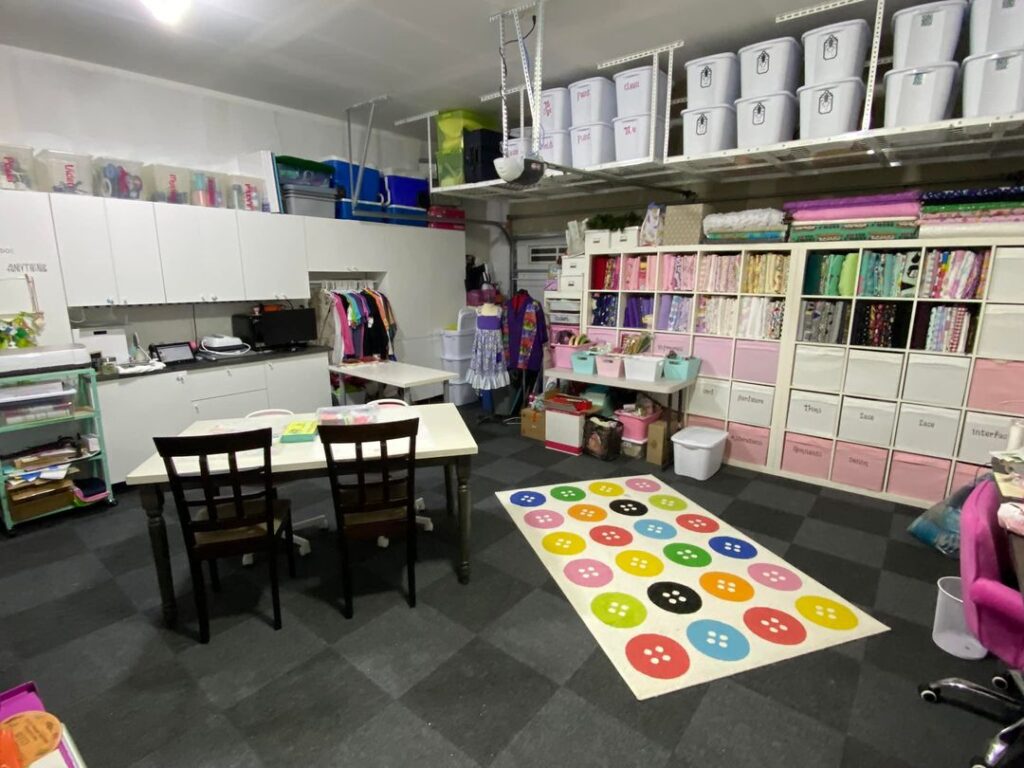
By the time we finished, we realized that we had a lot of seasonal items that we only needed to access once a year, so we added overhead storage for totes as well. We chose all white totes to make it visually uncluttered however, it took me a few years to get them all labeled.
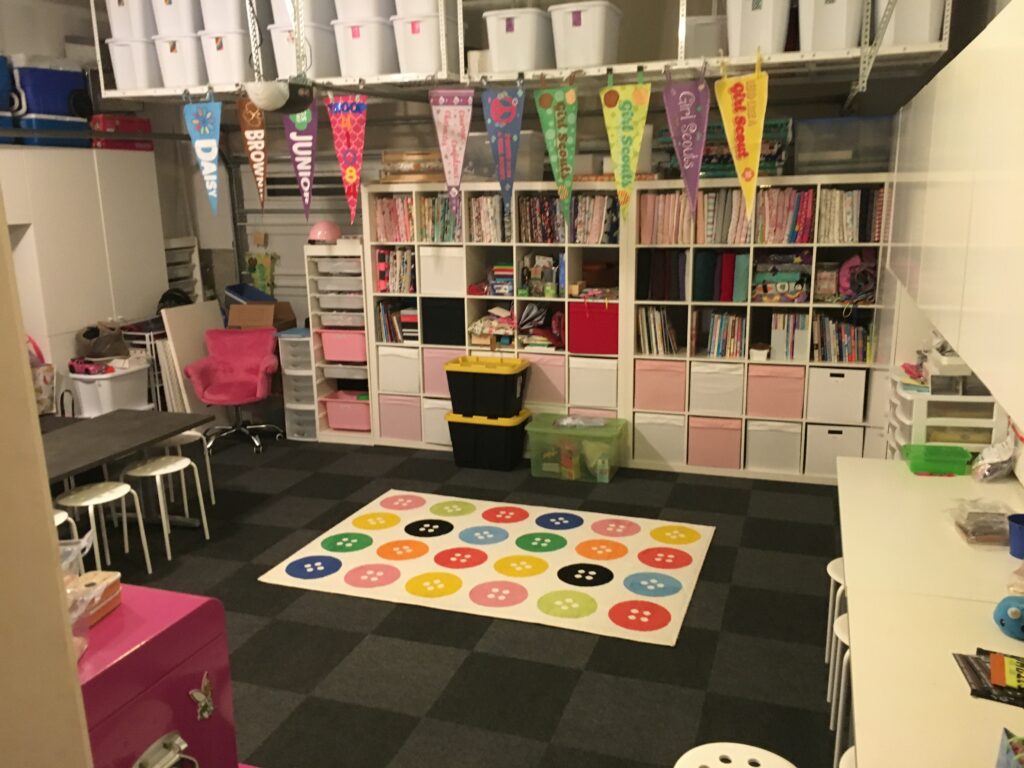
I decided to bring down these IKEA Expedit bookshelves that I have had for over 20 years, and moved at least 4 times. I love how sturdy they are, and how they make use of the vertical space (and hide most of the garage door). These have since been discontinued, but the IKEA Kallax series is very similar.
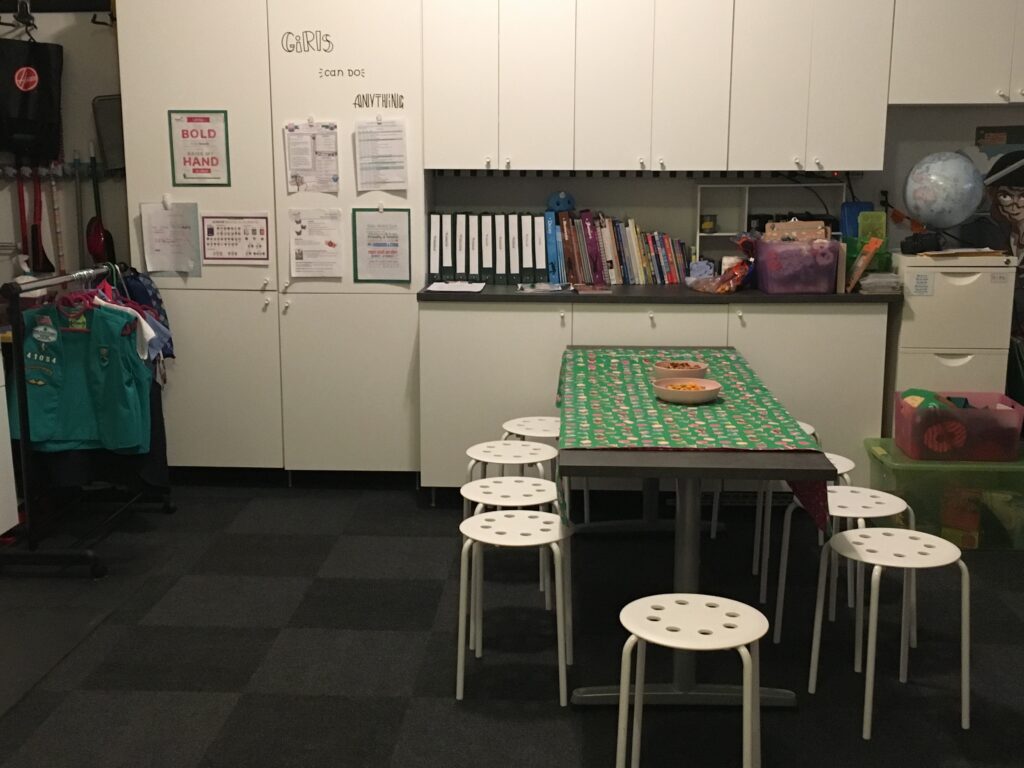
At this point, the space worked really well for our girl scout meetings too (hence the banners hanging from the overhead storage)!

During 2020, I finally committed to organizing all the hidden stuff in the drawer totes. I would forget what was in each one, and some had just miscellaneous projects, and unrelated items. I found the simple act of forcing myself to put a label on it really helped me let go of things that I really didn’t need.
We ordered a new dining table, but it arrived damaged, and they didn’t want us to return it, so it became the new centerpiece of my studio. I have started having friends over for crafting workshops and this has really become my sanctuary. I really love how visually peaceful it is, unlike the old wire shelving with totes.
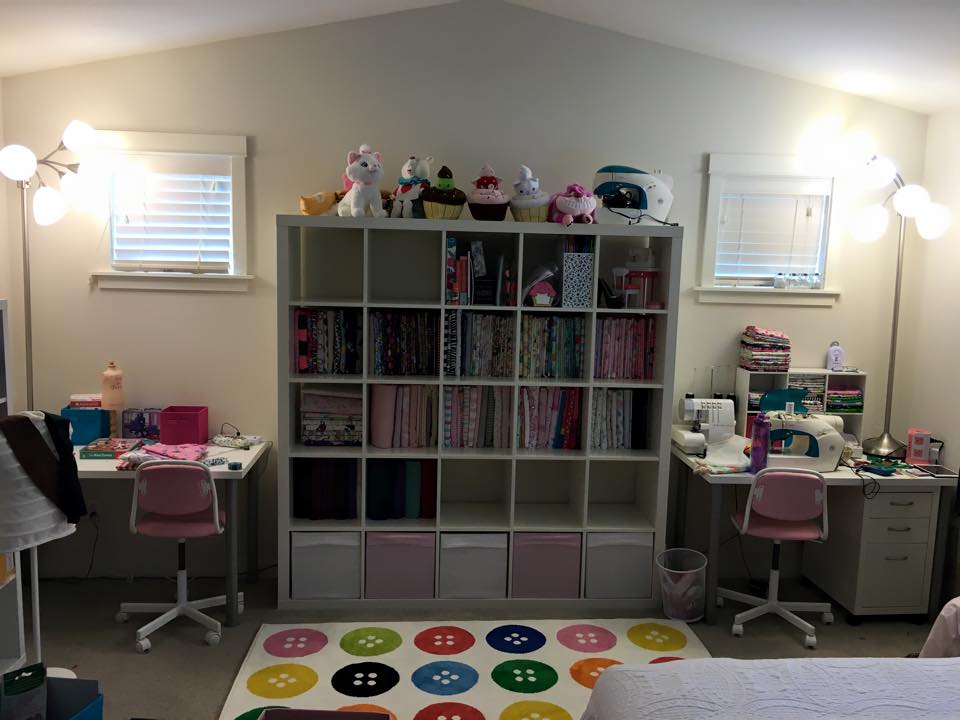
History
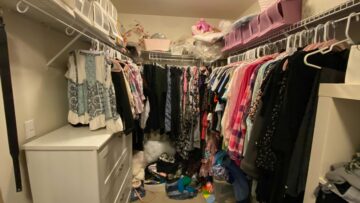
Here is one of my craft room’s previous incarnations (one wall of the primary bedroom). As you can see, I had started to pull together the design elements that are in my current space.
I will continue to update this story with further details and finishing touches, as I don’t think this project will every really be finished…